Picking particles manually
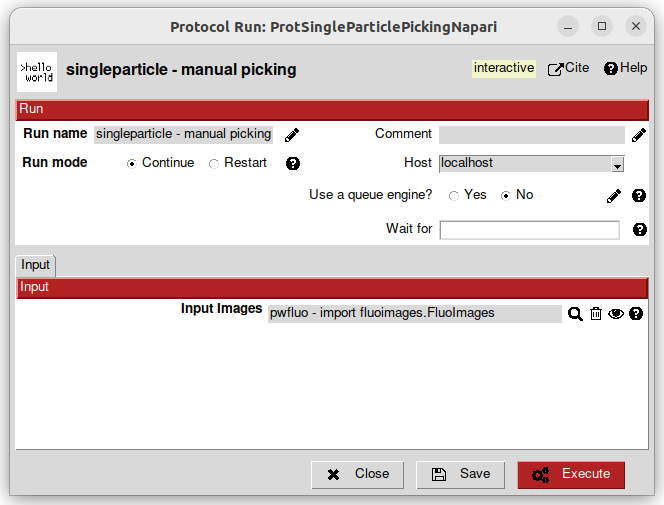
To pick particles manually, you will need the manual picking protocol.
Note
If you want to skip the picking part, there are already cropped particles in the data/real/ISIM/cropped folder. Import them with the import particles protocol.
Select  the
the SetOfFluoImages we imported previously.

Then, click on Execute. Another window should pop up.

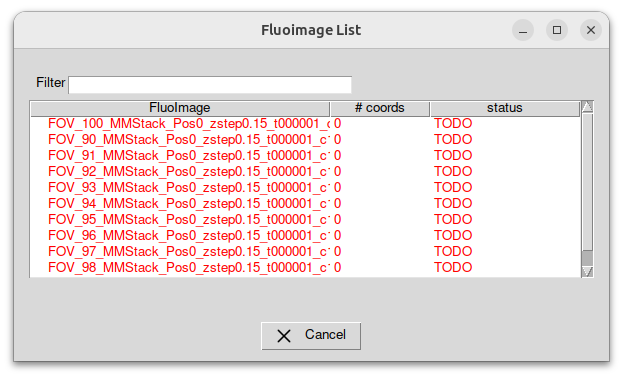
This Fluoimage List is the state of your picking. Each line represents an image. Double-click on a line to begin the picking. Napari will be launched.

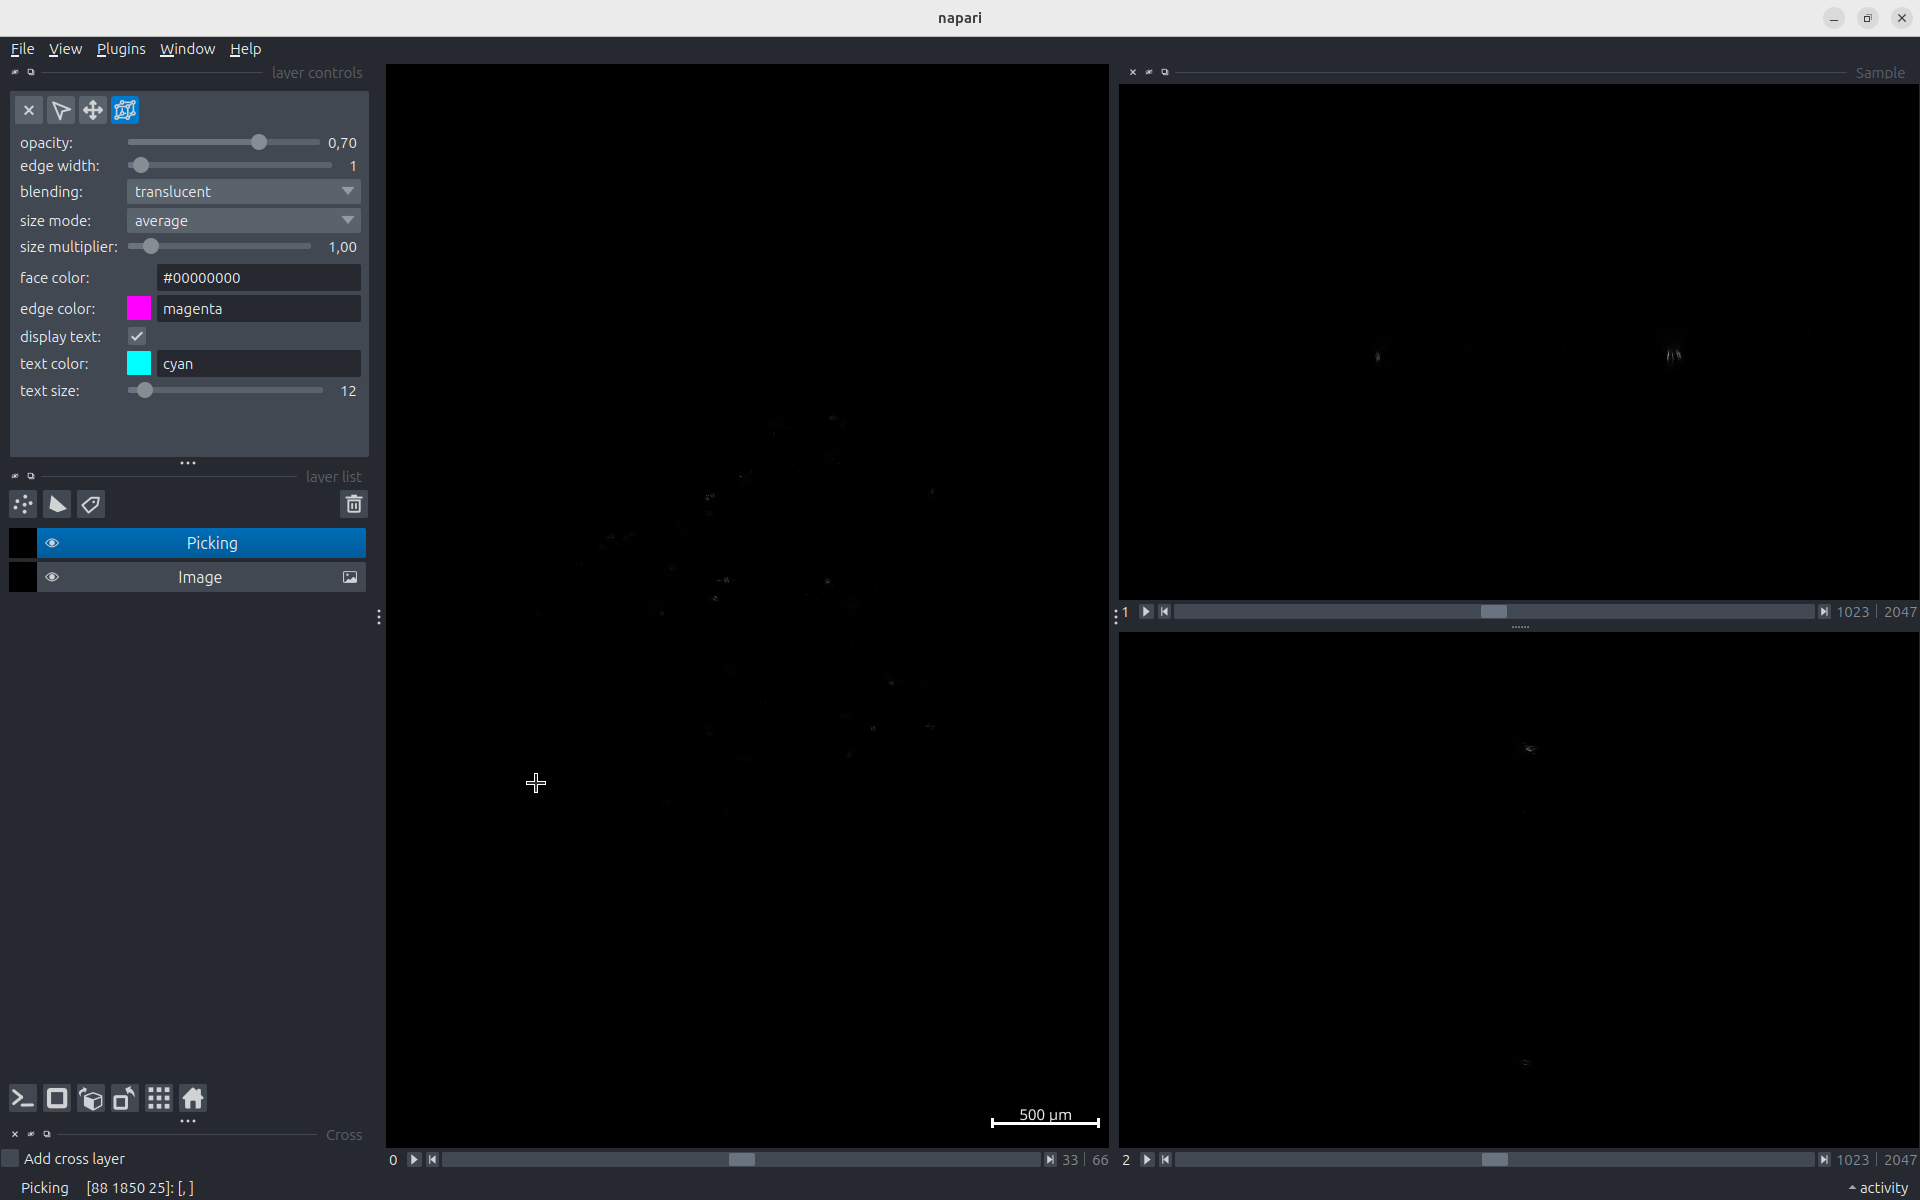
Here you have a Napari viewer that differs a bit from the one we had in the previous section Visualise data with napari.
There is one Picking layer in the layer list on the left panel. When selected, this layer allows you to add, delete or modify bounding boxes.
If you want to modify the contrast of the image (like we did previously), click on the image layer.
Click on the Picking layer to start annotating.
- In the layer controls, you have 4 buttons:
 removes the last selected particle.
 lets you add a new particle.
 lets you select a particle and move it as you want.
 lets you navigates on the image by click-and-drag.
Zoom-in with the mouse wheel on a particle.
Select  and drag the rectangle to surround the centriole.
On the right panel, you have side views of the particle. Zoom-in to see the centriole better.
You can now adjust the bounding box in all the directions with the  mode.
mode.
Important
The bounding box should contain the whole particle.
There shouldn’t be any other particles in the bounding box. This can be complicated in some cases. Try to avoid centrioles that are too close to each other!
Now navigate the image to find another particle to pick with the  mode.
Once you have found one, you can go back to the
  mode and continue annotating.
If you made an error, click on the  button.
Once you’re done, simply close the window.

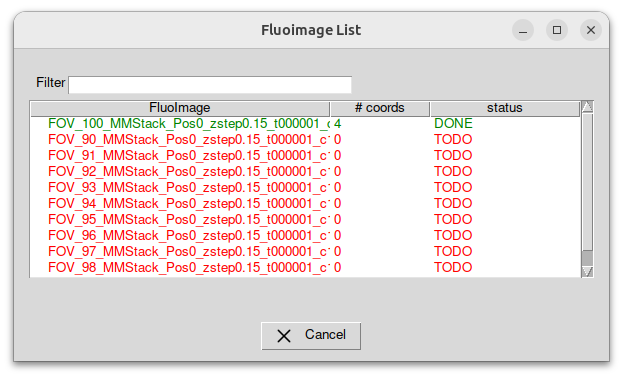
The Fluoimage List window shows you the number of particles you picked. You can double-click again on an image to continue to pick or close the window if you’re finished.
Note
For the rest of the tutorial, it is recommended to have at least 10 particles picked.
The protocol box is yellow, it means that it’s interactive. You will be able in the future to come back to this protocol to add or remove particles.